Being Prepared for Print Saves Time and Money
Setting yourself up for print success starts before the files leave your computer. By making sure your file has been set up correctly from the start you can save yourself a headache at the end of the project.
You created your project based on a budget and timeline, and even if you’re well within them when you’re ready to send your job to the printer, a few small mistakes could cause chaos.
To avoid a time-consuming back and forth to fix these issues, there are a few things to check before sending your project files that will help the printing process go smoothly.
Set your document up for success. There are several things to consider when setting up your file, page size being the most important. The size of the page in your file is the exact size of the finished product. Confirm that the page size you’ve selected is precisely what you want.
Remember Bleed and Crop marks. As the page size represents the size of the finished product, in order to ensure the artwork goes all the way to the edge of the page you need to indicate bleed. Crop marks, or trim marks, tell the printer where to trim your job. This guarantees that all of the pages are the same size and shape.
Check and send your fonts. When designing your document, you probably carefully selected a font for the project. To make sure that font prints correctly, it’s important to package or output your fonts to send with your project files.
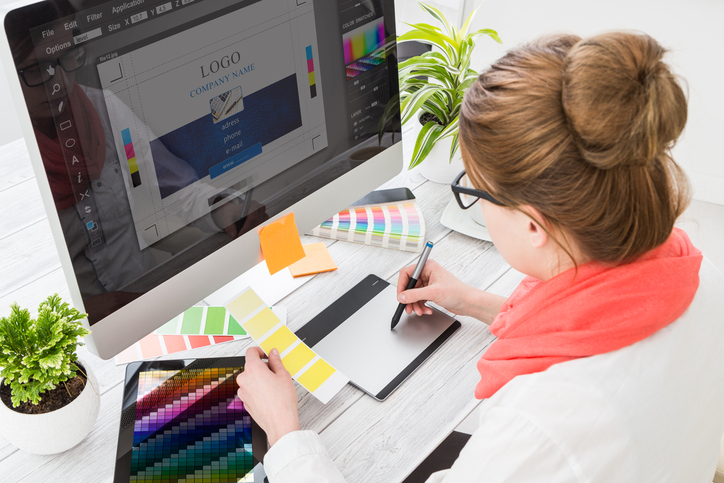
Confirm or convert your colors. What you see on your screen may not accurately represent the colors you’ve chosen. It’s important to verify your selected colors with a Pantone color book or CMYK mixer chart. Also consider how the file will be printed, if it will be printed in CMYK, then use CMYK colors. Converting colors from Pantone or RGB may result in less than optimal results as converted colors are sometimes very different from the intended shade.
Image resolution matters. In addition to having the rights to use the images, it’s important to make sure you’re using high resolution image files for your project. Resolution is represented in creative software as dpi, or dots per inch.
The standard dpi for print files is 300dpi. As with the fonts, it’s important to package or output your images so that if there are any issues with any of your images the printer has the files on hand.
Check the specs. Before you export your files to send to the printer, it’s important to know what file type is best for your print job. Typically, printers will accept InDesign files, Quark files or print-ready PDFs. Check with the printer to determine which file type is best. This also applies to images, such as vector graphics and photographs, you’re using in your project. Verify the file types with your printer to ensure a smooth printing process.
Save your files correctly. It’s typically best to save your design files in the native format for the program you’re using, such as .ai for Illustrator, .indd for InDesign, .psd for Photoshop, .qxd for Quark, or if you’re supplying a print-ready PDF, then .pdf is fine. Refer to the print specs provided when saving and packaging image files and remember to package or output your fonts as well.
Remember that we’re here to help. We want the print finishing process to be as smooth as possible for both our sakes. Our expert staff is prepared to guide you through the process, answer your questions and are available for custom consultations for your project.
Being prepared to print saves time and makes it easier for printers to provide you with an accurate bid, so you have a better idea of the cost of the job. Our experienced team will help you determine the right approach for your print finishing project and ensure that every detail is attended to.