
Major Things to Know about Lamination
If you are interested in protecting your printed material from regular handling, moisture, or damage, lamination may be the answer.
Lamination is the process of using a transparent, plastic film to cover printed matter, by bonding the film on both sides of the piece to completely enclose it in plastic. This coating protects printed pieces as well as adding strength and rigidity. Lamination protects against moisture, smudges, stains, and tears.
What Kinds of Projects Use Lamination?
Most frequently, printed materials that are handled regularly are good candidates for lamination:
- Menus
- Maps
- Bookmarks
- Membership Cards
- Educational Materials
- Safety Information
- Booklet covers or pages
- Signage
Other materials that benefit from lamination are safety cards, machinery warnings, or reusable tags. Lamination can protect printed materials in environments where materials may encounter dirt, grease, liquids, or other damaging substances, such as factories or auto garages. In these situations, the lamination film can be extended beyond the edge of the printed piece to create a protective barrier around the edges of the piece.
How is Lamination Applied?
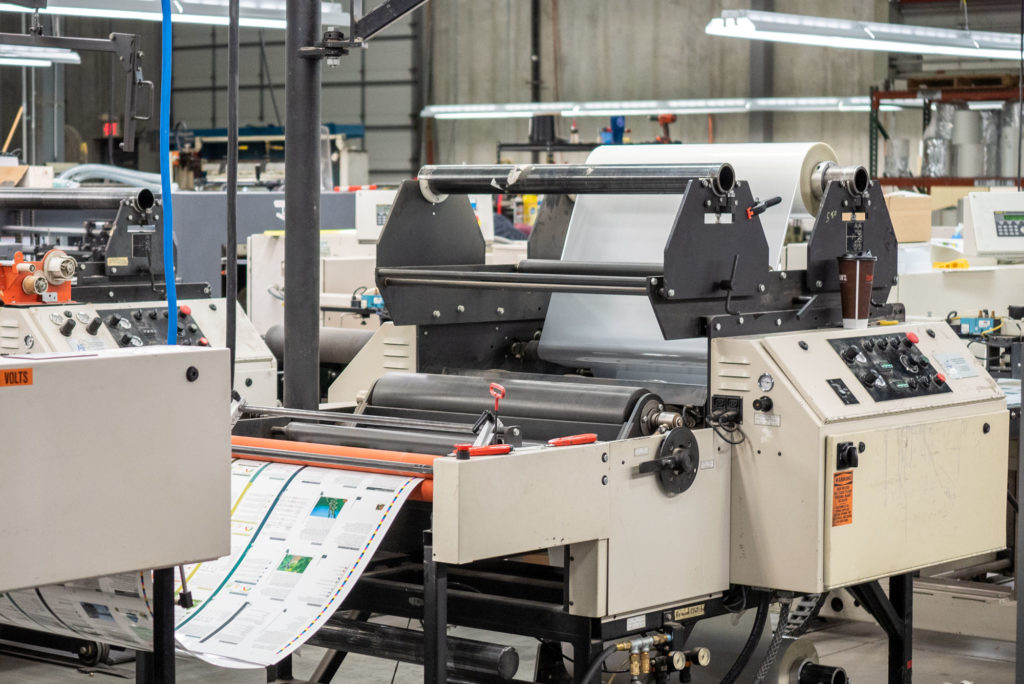
As mentioned, lamination is the bonding of plastic film together on either side of a printed piece. There are two different methods of applying lamination — wet bond and dry bond.
Wet Bond Lamination: This method is the combination of two materials, the plastic film and a porous substrate such as paper or cardstock. A wet bonding process (an adhesive) is applied to each material, then the substrates are combined and passed through an oven, where they are dried. During the drying process, the adhesive dries, and the two materials adhere together.
Dry Bond Lamination: This method combines two non-porous materials, such as film on film or film on foil. The adhesive used in the dry bond process is applied to one or both of the materials before they are dried in an oven. The two materials are combined after they have dried.
Regardless of which method or lamination is used, it takes time for the materials to dry in the oven. It can take 24 to 48 hours for the lamination and drying process.
The main cost of laminating materials is in the setup process. It is most cost-effective to laminate several copies, but you can choose to laminate as many or as few pieces as you require.
Choosing Lamination Thickness
As with other coatings, you can get lamination in different thicknesses. Lamination film is measured in “mil” thicknesses, but a mil is different from a millimeter. One mil is equal to .001 inch, or one-thousandth of an inch, so lamination of 10 mil is .010 inches thick.
First, you should decide how rigid you want your piece to be. For rigid pieces like signage, it is more cost effective to use a thicker material, such as cardstock, with a thinner laminate, rather than the other way around. The paper, cardstock or other material you select will help determine the method of laminate application and the thickness of the laminate. Another decision to make is whether you want lamination on both sides of the piece, to fully encapsulate it, or just on one side.

Lamination comes in different thicknesses:
- Thin lamination (5 mil on paper) is most frequently used on things like restaurant menus or maps as it adds a layer of protection and water resistance while still being able to fold.
- Thick lamination (10 mil on paper) is sturdy and best used for event badges, booklet covers, and safety information.
- Super thick lamination (10 mil on cardstock) will create a durable, rigid layer of protection, best used for membership cards and name tags that are frequently handled and must last a long time.
Lamination Finishing Options
There are a few additional finishing options to consider when choosing lamination. For example, you can select glossy, matte, or dry erase finishes. You can also have the lamination extend beyond the edge of the paper, called a lip edge, which creates a water-resistant seal. Or you can have the lamination trimmed to the edge of the paper, called a flush edge, which leaves no lamination hanging over the edges. When selecting your edge options, you can also choose between square or rounded corners.
You should also consider how your piece will be used. For signage, you may want to leave a lip edge if you plan to punch holes for hanging. For a booklet, you will want to leave room for the binding.
Selecting the Right Options for Your Project
With all of these options to consider, you can see how lamination can be used for a variety of projects to add durability, protection, and rigidity. If you are considering lamination for your next project, our expert staff can help you choose the right materials, thickness, and finishing options to meet your needs and fit your budget.